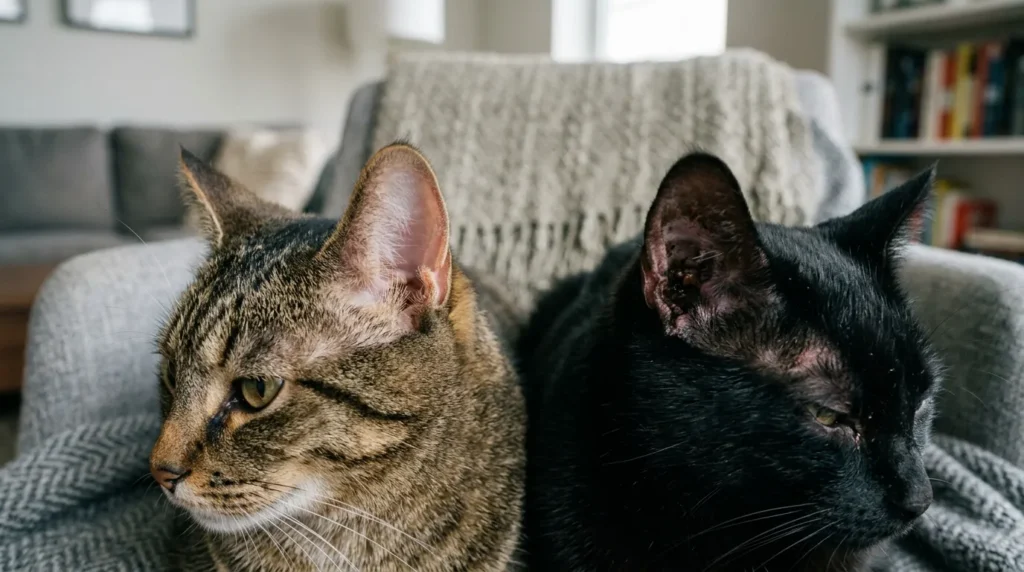
I noticed my cat had been tilting her head slightly to the left for a few days before I looked inside her ear and found a small accumulation of dark debris near the outer canal from her favorite dusty hiding spot behind the radiator. Learning how to clean cat ears at home properly turned a genuinely worrying discovery into a ten-minute routine that I now do monthly as a precaution. Most cats never need deep ear cleaning but knowing when and how to do it safely is the difference between a minor maintenance moment and an accidental injury. This article covers the six-step technique, how to tell healthy wax from a problem worth calling your vet about and the one tool you must never put inside a cat’s ear.
How to clean cat ears at home: apply a vet-formulated ear cleaner to a cotton ball or directly into the canal, massage the base of the ear for 20 to 30 seconds, let your cat shake and then wipe the outer ear with a clean cotton ball. Never use cotton swabs. Reward immediately. Clean only when visible debris is present, not on a fixed schedule.
Do Indoor Cats Actually Need Their Ears Cleaned?

Most healthy indoor cats clean their own ears effectively as part of their self-grooming routine. Their outer ear canal naturally moves debris upward and out so for most cats a weekly visual inspection is genuinely all the maintenance required. If the ears look pink, smell like nothing at all and your cat shows no signs of discomfort, the correct response is to leave them alone.
According to VCA Animal Hospitals, over-cleaning cat ears strips protective oils and can cause the same irritation and microbial imbalance that owners are trying to prevent. The recommendation is to clean only when visible wax or debris is present, not on a fixed weekly schedule regardless of what you see.
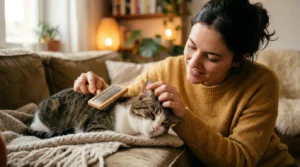
Your cat’s full indoor grooming routine is the right context for ear checks. Do a quick visual while you brush rather than treating ears as a separate scheduled task. That habit catches debris before it accumulates without overcleaning clean ears.
Supplies You Need Before You Begin
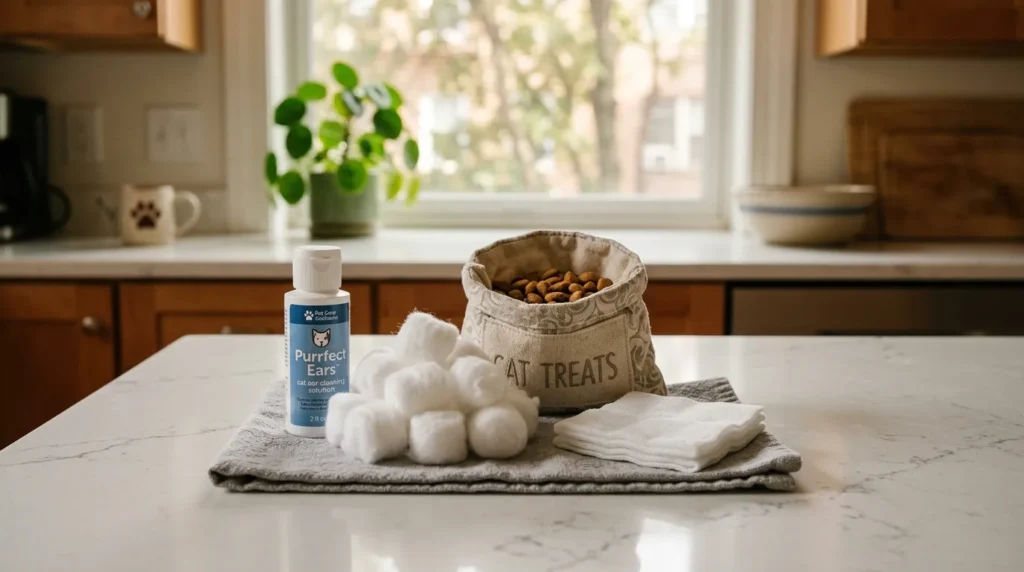
The most important supply is a vet-formulated ear cleaner and nothing else substitutes for it. pH-balanced enzymatic solutions or gentle drying formulas designed specifically for cats are the correct choice. Human ear drops, hydrogen peroxide, vinegar and isopropyl alcohol all cause chemical irritation inside the ear canal that ranges from mildly painful to severely damaging depending on concentration and your cat’s individual sensitivity.
| Cleaner Type | Best For | Indoor Cat Suitability |
| Enzymatic flush (e.g., enzyme-based) | Routine wax maintenance | Excellent |
| Drying formula (salicylic acid base) | Waxy or moisture-prone ears | Very good |
| Acetic acid formula | Yeast-prone or odor issues | Good |
| Pre-moistened wipes | Skittish or resistant cats | Very good |
Beyond the cleaner you need soft cotton balls or gauze pads and a supply of high-value treats. Do not buy cotton swabs for this purpose. Not for the outer ear. Not for a quick gentle touch. Cats move unpredictably and the risk of inserting a swab deep into the canal by accident is real enough that every vet source agrees it simply should not be in the supply kit.
How to Clean Cat Ears at Home? The 6-Step Method
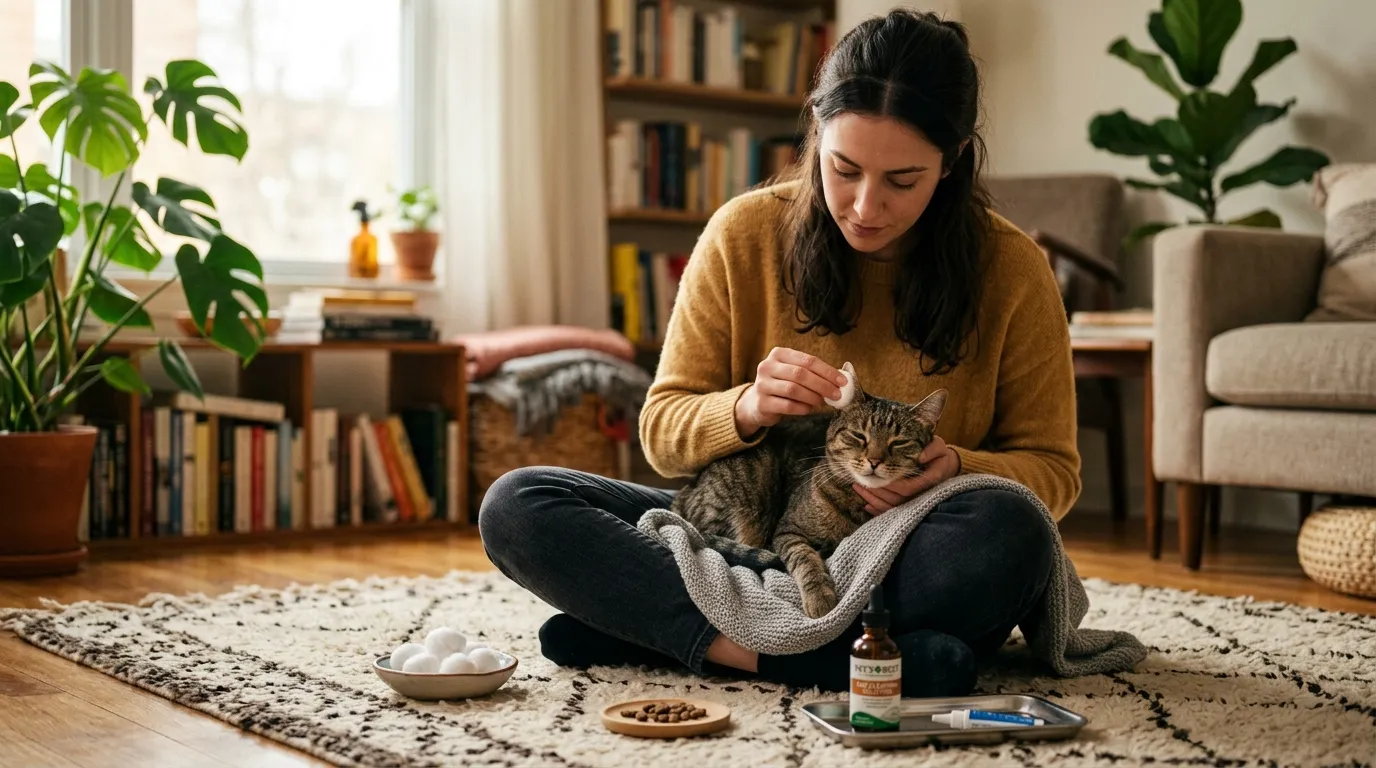
Step 1: Choose the timing carefully. A cat who just finished a play session and a meal is at her most relaxed. That is your window. Do not attempt ear cleaning when she is alert, in hunting mode or already tense from a recent stressor.
Step 2: Fold back the ear flap gently and inspect the canal with good light before applying anything. What you see before cleaning matters. Pink skin, a small amount of light brown wax and no odor means you are dealing with normal maintenance. Dark debris, redness, swelling or any smell at all means stop here and call your vet before proceeding.
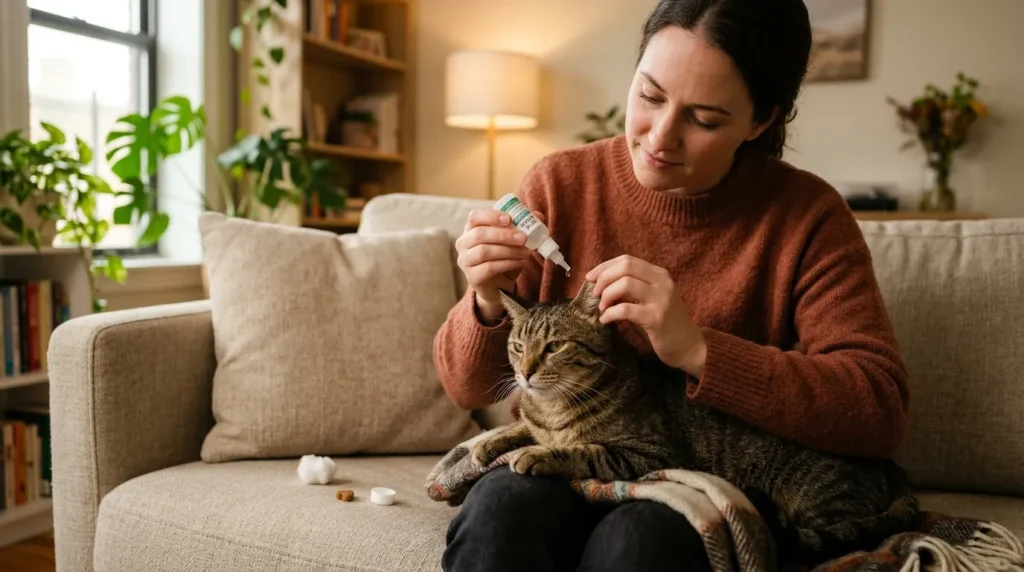
Step 3: Apply a vet-formulated ear cleaner. Squeeze a few drops directly into the canal or soak a cotton ball and tuck it just inside the opening. The cotton ball method is gentler for cats who startle at the squirt sound.
Step 4: Massage the base of the ear for 20 to 30 seconds. The correct position is at the bottom of the ear where it meets the skull rather than near the ear opening. You will hear a soft squelching as the solution loosens debris deeper in the canal. This step is where the real cleaning happens.
Step 5: Release your cat and let her shake her head. This is beneficial rather than something to prevent. The head shake brings loosened debris up and out of the canal toward the outer ear where you can reach it.
Step 6: Use a clean cotton ball to wipe the outer ear and the visible parts of the canal. Clean only what you can see without inserting your finger. Offer a treat immediately. Repeat on the other ear if needed.
Understanding What Normal Looks Like Inside a Cat’s Ear?
A healthy ear is pale pink, odorless and has at most a light coating of pale to medium brown wax near the outer canal. That wax is normal and protective. Removing it completely with aggressive cleaning does more harm than leaving it in place.
Ear wax buildup that appears dark brown or black and has a coffee-ground texture is associated with ear mites rather than routine debris. Ear mites require medication and not a home cleaning session. A foul, sweet or yeasty odor coming from the ear canal is also a sign of infection rather than simple wax accumulation. Both conditions look like they need more aggressive cleaning when what they actually need is a vet visit.
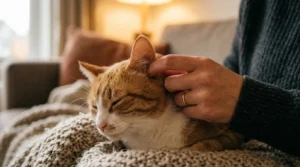
Monitoring your cat’s behavioral signals around ear discomfort helps you catch problems early. A cat who shakes her head frequently, scratches at one ear repeatedly or holds her head tilted is telling you something is wrong before the visual symptoms become obvious.
How Often Do Indoor Cats Need Ear Cleaning?

Most indoor cats need a full ear cleaning only when visible debris appears, which for healthy cats averages every two to four weeks for those who produce more wax and less frequently or never for those who do not. The key is visual inspection weekly rather than cleaning on a fixed schedule whether or not the ears need it.
Long-haired breeds and cats who spend time near dusty corners or radiators tend to accumulate more debris than sleek short-haired cats who patrol cleaner environments. If your cat has a favorite hiding spot that tracks dust and debris through her coat, checking her ears when you check her coat makes practical sense as a combined routine.
A complete approach to indoor cat care treats ear checks as part of a whole-body health awareness habit rather than a separate task. The owners who catch ear infections early are almost always the ones who have built the habit of regular physical checks rather than those who respond to visible symptoms.
Owner’s Note: After the first time I actually did this properly, I realized how easy it had sounded versus how much my cat disliked the squelching sound during the massage step. Offering a treat during rather than only after made a meaningful difference. The treat as a distraction mid-massage rather than only as a reward afterward is the specific adjustment that changed her tolerance from escape attempts to mild resignation.
The Mistake That Causes More Harm Than Dirty Ears

Using a cotton swab is the most common mistake owners make when cleaning cat ears at home and it is also the most dangerous. A cat who moves unexpectedly during a swab insertion can sustain damage to the ear canal or the eardrum that requires veterinary treatment to address. The ear canal is not a straight tube and the safe cleaning zone for any home tool ends where you can no longer clearly see the surface you are touching.
The second mistake is cleaning when a problem already exists. An infected ear is painful and applying cleaning solution into an already-inflamed canal causes additional pain while potentially pushing debris further inward. If you see redness, swelling or unusual discharge before you start, the correct first step is a vet call rather than a cleaning session. Keeping track of your cat’s overall indoor health patterns including ear condition as part of a regular assessment gives you the baseline that makes sudden changes obvious rather than easy to overlook.
Litter box habits and feeding patterns changing alongside ear discomfort sometimes indicate a systemic health shift rather than an isolated ear issue. Enrichment and daily engagement also help because a cat who is mentally active is one whose behavior changes are easier to notice quickly.
When Cat Ear Symptoms Need a Vet Visit, Not Home Cleaning
A cat who shakes her head more than a few times daily, scratches at one ear repeatedly with her back leg or holds her head consistently tilted is showing symptoms that home cleaning will not resolve. These behaviors indicate something beyond surface wax and require diagnosis before any treatment. Trying to clean at this stage can make an infection worse.
Dark coffee-ground debris in the ear canal is a visual indicator of ear mites rather than accumulated wax. Ear mites require antiparasitic medication applied to the canal and sometimes systemically. Cleaning removes the debris temporarily but does not kill the mites or their eggs. The itching and debris will return within days without proper treatment.
Redness, swelling or a foul odor from either ear warrants a same-week vet appointment rather than a wait-and-see approach. Cat ear infections escalate more quickly than human ear infections because cats mask pain effectively and continue normal behaviors until the infection is advanced.
This article is for informational purposes only. Always consult your vet if you have concerns about your cat’s health.
Frequently Asked Questions About Cleaning Cat Ears at Home
How often should I clean my indoor cat’s ears?
Clean only when you see visible wax or debris during your weekly visual inspection. For most healthy indoor cats this happens every two to four weeks at most and for many cats it happens rarely or never. Over-cleaning every week regardless of what you see strips protective oils from the canal and can cause the irritation you are trying to prevent.
Why can’t I use a cotton swab to clean my cat’s ears?
Cat ear canals are not straight and cats move unpredictably during grooming. A sudden movement while a swab is inserted can drive the tip into the canal or against the eardrum, causing injuries that require veterinary repair. The outer ear and the visible part of the canal are all that should ever be touched with any tool during home cleaning.
What does normal cat ear wax look like versus something I should worry about?
Normal wax is light to medium brown and waxy in texture. Small amounts in the outer canal are healthy and protective. Dark brown or black debris with a coffee-ground appearance suggests ear mites. A yellow or green discharge suggests bacterial infection. Any foul smell coming from the canal is always a sign worth a vet call rather than an attempt at home cleaning.
My cat hates having her ears touched. How do I desensitize her?
Touch her ear briefly for one second while offering a treat immediately after. Do this daily for a week without using any cleaner or doing any actual cleaning. The goal is associating ear contact with treat reward before any maintenance is introduced. Over ten to fourteen days gradually increase the duration of ear handling before each treat. Most cats tolerate ear cleaning after this foundation is built.
Can I use baby oil or olive oil to soften ear wax in my cat?
No. Oils that are not formulated for cat ear canals can trap debris rather than dissolving it, create an environment that promotes microbial growth and are difficult to rinse out without additional product. Use only a vet-formulated ear cleaner with a pH-balanced formula designed for the specific biology of the feline ear canal. The difference in outcome between a proper cleaner and an improvised alternative is significant.
How to clean cat ears at home involves applying a vet-formulated ear cleaner, massaging the base of the ear for 20 to 30 seconds, letting the cat shake and then wiping the outer canal with a cotton ball. Most healthy indoor cats need cleaning only when visible wax or debris appears, approximately every two to four weeks for wax-prone cats and less frequently for others. Never use cotton swabs. Signs requiring a vet visit include dark coffee-ground debris, head shaking, ear scratching, redness or odor from the canal.
Written by Mishu
A passionate cat lover and indoor living enthusiast, Mishu is the founder and voice behind Indoor Living Cat – a go-to resource for cat owners who want to create the happiest, healthiest life for their feline companions indoors.
View Full Profile